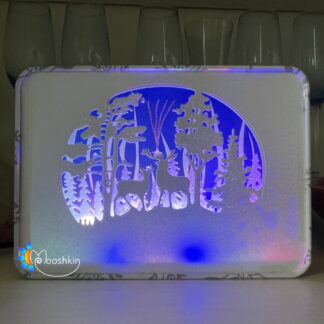
Description
I honestly don’t know where I get these mad ideas from!
In the case of Tinter Wonderland, I’d seen these tins on sale by one of my favourite suppliers and as they were such a decent size compared to (say) a normal tobacco tin, I thought there’s bound to be something I can do with them. Yeah, I know, it’s normally sensible to have the idea first and then buy the materials, but my brain doesn’t work that way!
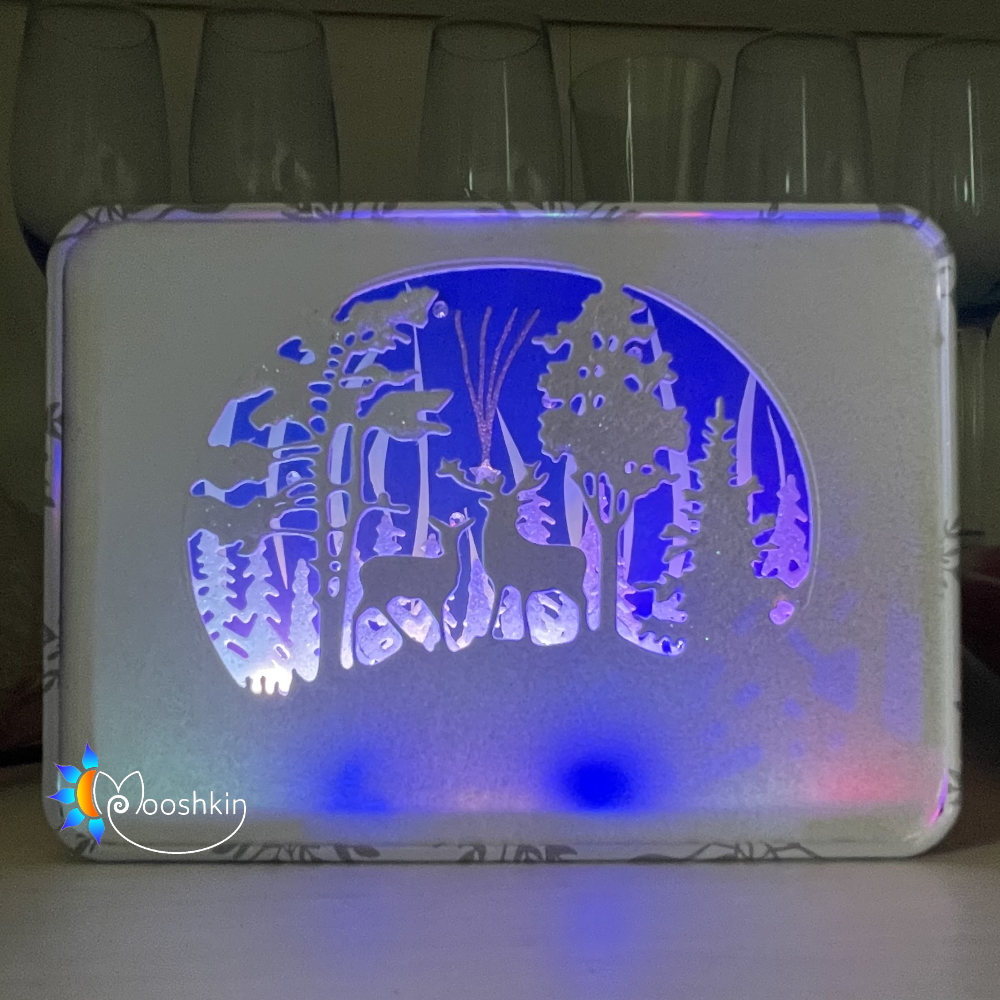
Anyway, by the time I’d added 10 to my basket, I knew what I was going to do with them. Winter in a tin, with lights and glow in the dark. Of course!
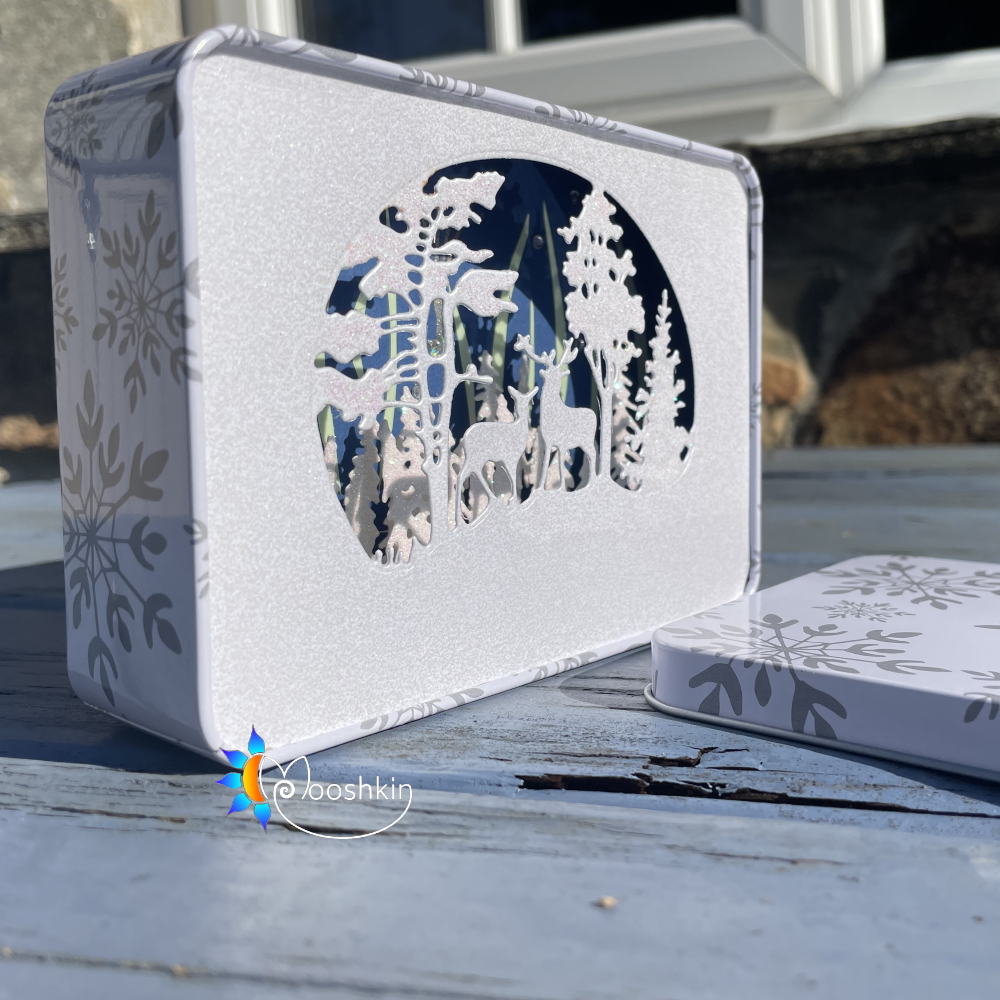
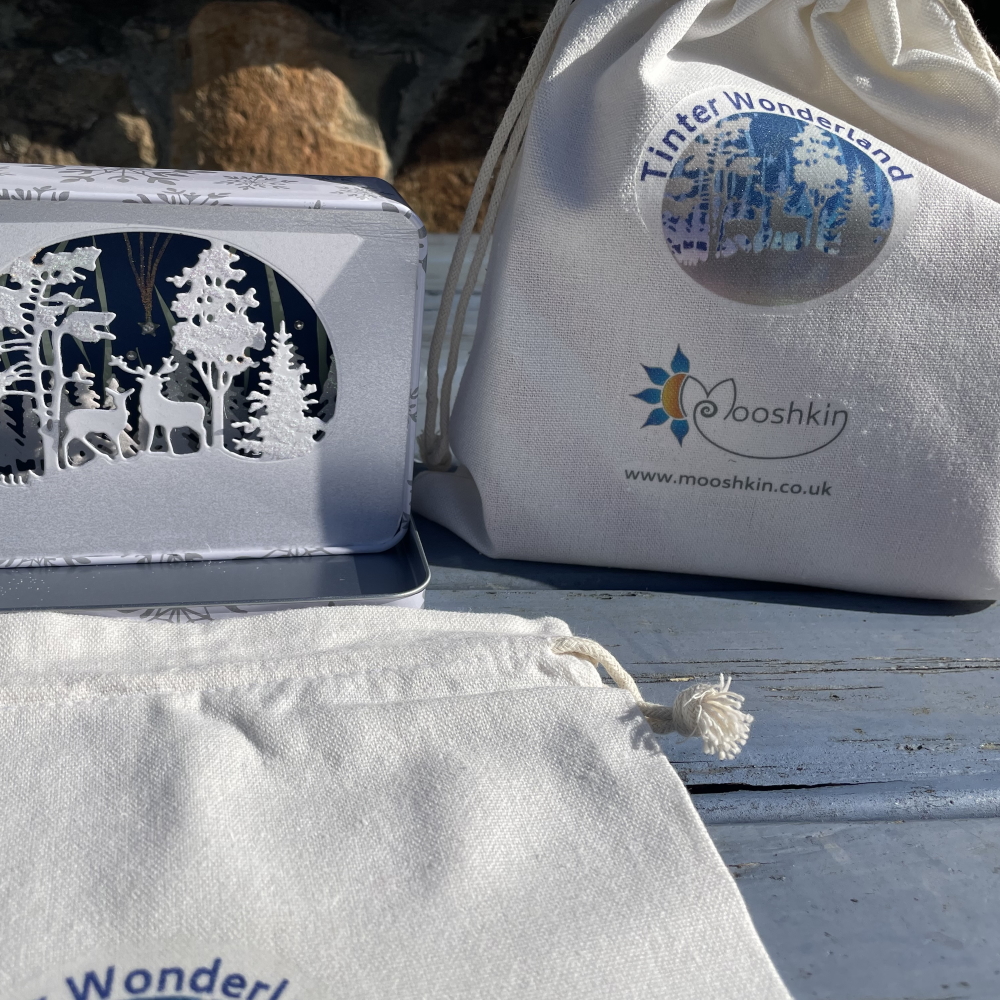
As I said, these tins are generously sized – 14cm x 10cm x 4cm – which makes them easier to work with. They are fitted with USB-powered LED fairy lights, and supplied with a USB extension lead for convenience (because I know from experience that it’s not always possible to put a plug-in item very close to the socket). Tinter Wonderland is also supplied in a branded cotton drawstring bag, so you won’t lose the extension lead when the item is in storage. There are two available designs on the outsides of the tins: red and white stripes, or plain silver. I will choose one at random for you depending on what’s left in stock at the time of your order.
How they’re made
Using quality card, I cut out the backs, sides and top in dark blue, and the bottom and front in a silvery white. It took a lot of trial and error to get the sizes right, and all the cuts and folds in the right places, but I got there in the end!
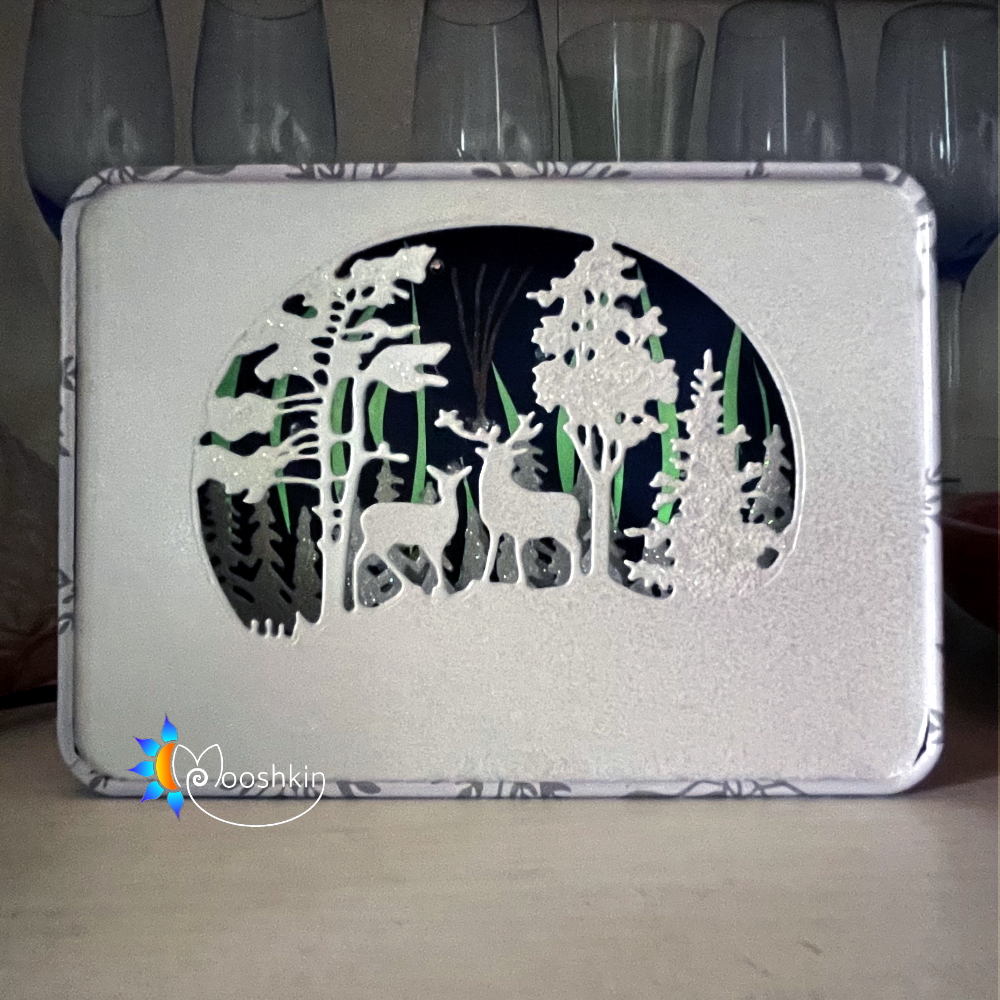
Next, I used one of my favourite cutting dies to cut out the winter deer scene on the fronts. As the silver-white card is so very thick, it took about 30 passes through my die cutter to get the cuts crisp enough to remove the unwanted bits. I had covid at the time, and turning the handle on my die cutter 300 times was more tiring than you’d think!
Next, back to the die cutter with another favourite cutting die – this time to make the trees inside the tin, of which there are two layers per tin. These are cut from a lovely iridescent glitter card, again very thick so a lot of turns on the die cutter required.
The back piece of card features a shooting star, small diamantes to represent more stars, and the northern lights. First, I used embossing pens to draw the ‘tail’ of the shooting star, covered the tail with iridescent embossing powder, shook off the excess, applied heat to melt the powder onto the ink, and attached a self-adhesive puffy star. Then, I cut twisty shapes from glow-in-the-dark sticky tape to represent the northern lights (and boy, do they glow!) I stuck these to the back piece of card, and finished off with a handful of self-adhesive clear diamantes to represent more stars.
Next, I added a little iridescent glitter to the trees on the front pieces. Then, I fitted all the blue pieces of card – backs, tops and sides – into the tins. The tops, bottoms and sides all have folded edges, to provide a lip for the front piece to sit on.
The next part of the assembly involved hot-gluing the tree die-cuts onto wooden coffee stirrers, which I hot glued onto the bottom piece of card.
Now for the really tricky bit: adding lights. To do this, I had to drill through the back of the tin. I unwound the USB LED fairy lights and threated a heat-shrink tube onto them, then threaded them through the back of the tin. I squished the shrink tube to feed it through the hole in the back of the tin, and applied heat to the tube to shrink it; this is to stop the metal strings of the lights coming into contact with the metal of the tin.
My next job was to wind the lights between the trees, and then fit the bottom (including trees) into the tin. Finally, I popped the front pieces into the tins and ironed transfers onto the bags.
As you can see, this is incredibly detailed work, very labour intensive, and the price of this item reflects this.